86salmon
It's Hedley, Hedley Lamarr!
- Joined
- Sep 26, 2018
- Threads
- 32
- Messages
- 3,298
- Reaction score
- 5,615
- Location
- Chucktown, SC
- Vehicle(s)
- 2018 Civic si sedan, 2001 Nissan Frontier
- Build Thread
- Link
- Vehicle Showcase
- 1
- Thread starter
- #1
I've had RL calipers for over a year now and wanted to share some experiences and thoughts plus other general information
First off this is the initial thread I learned about this retro fit. It's got a breakdown of a lot of brake caliper and rotor info for this platform and potential retrofits
https://www.civicx.com/forum/threads/brake-info-thread.62520/
This is an RL retrofit thread I referenced as well
https://www.civicx.com/forum/threads/oem-bbk-acura-rl-4-piston-brake-calipers.43055/
It's filled with great info also, but hasn't been updated in a while and gets a little muddied up with other retro fit talk
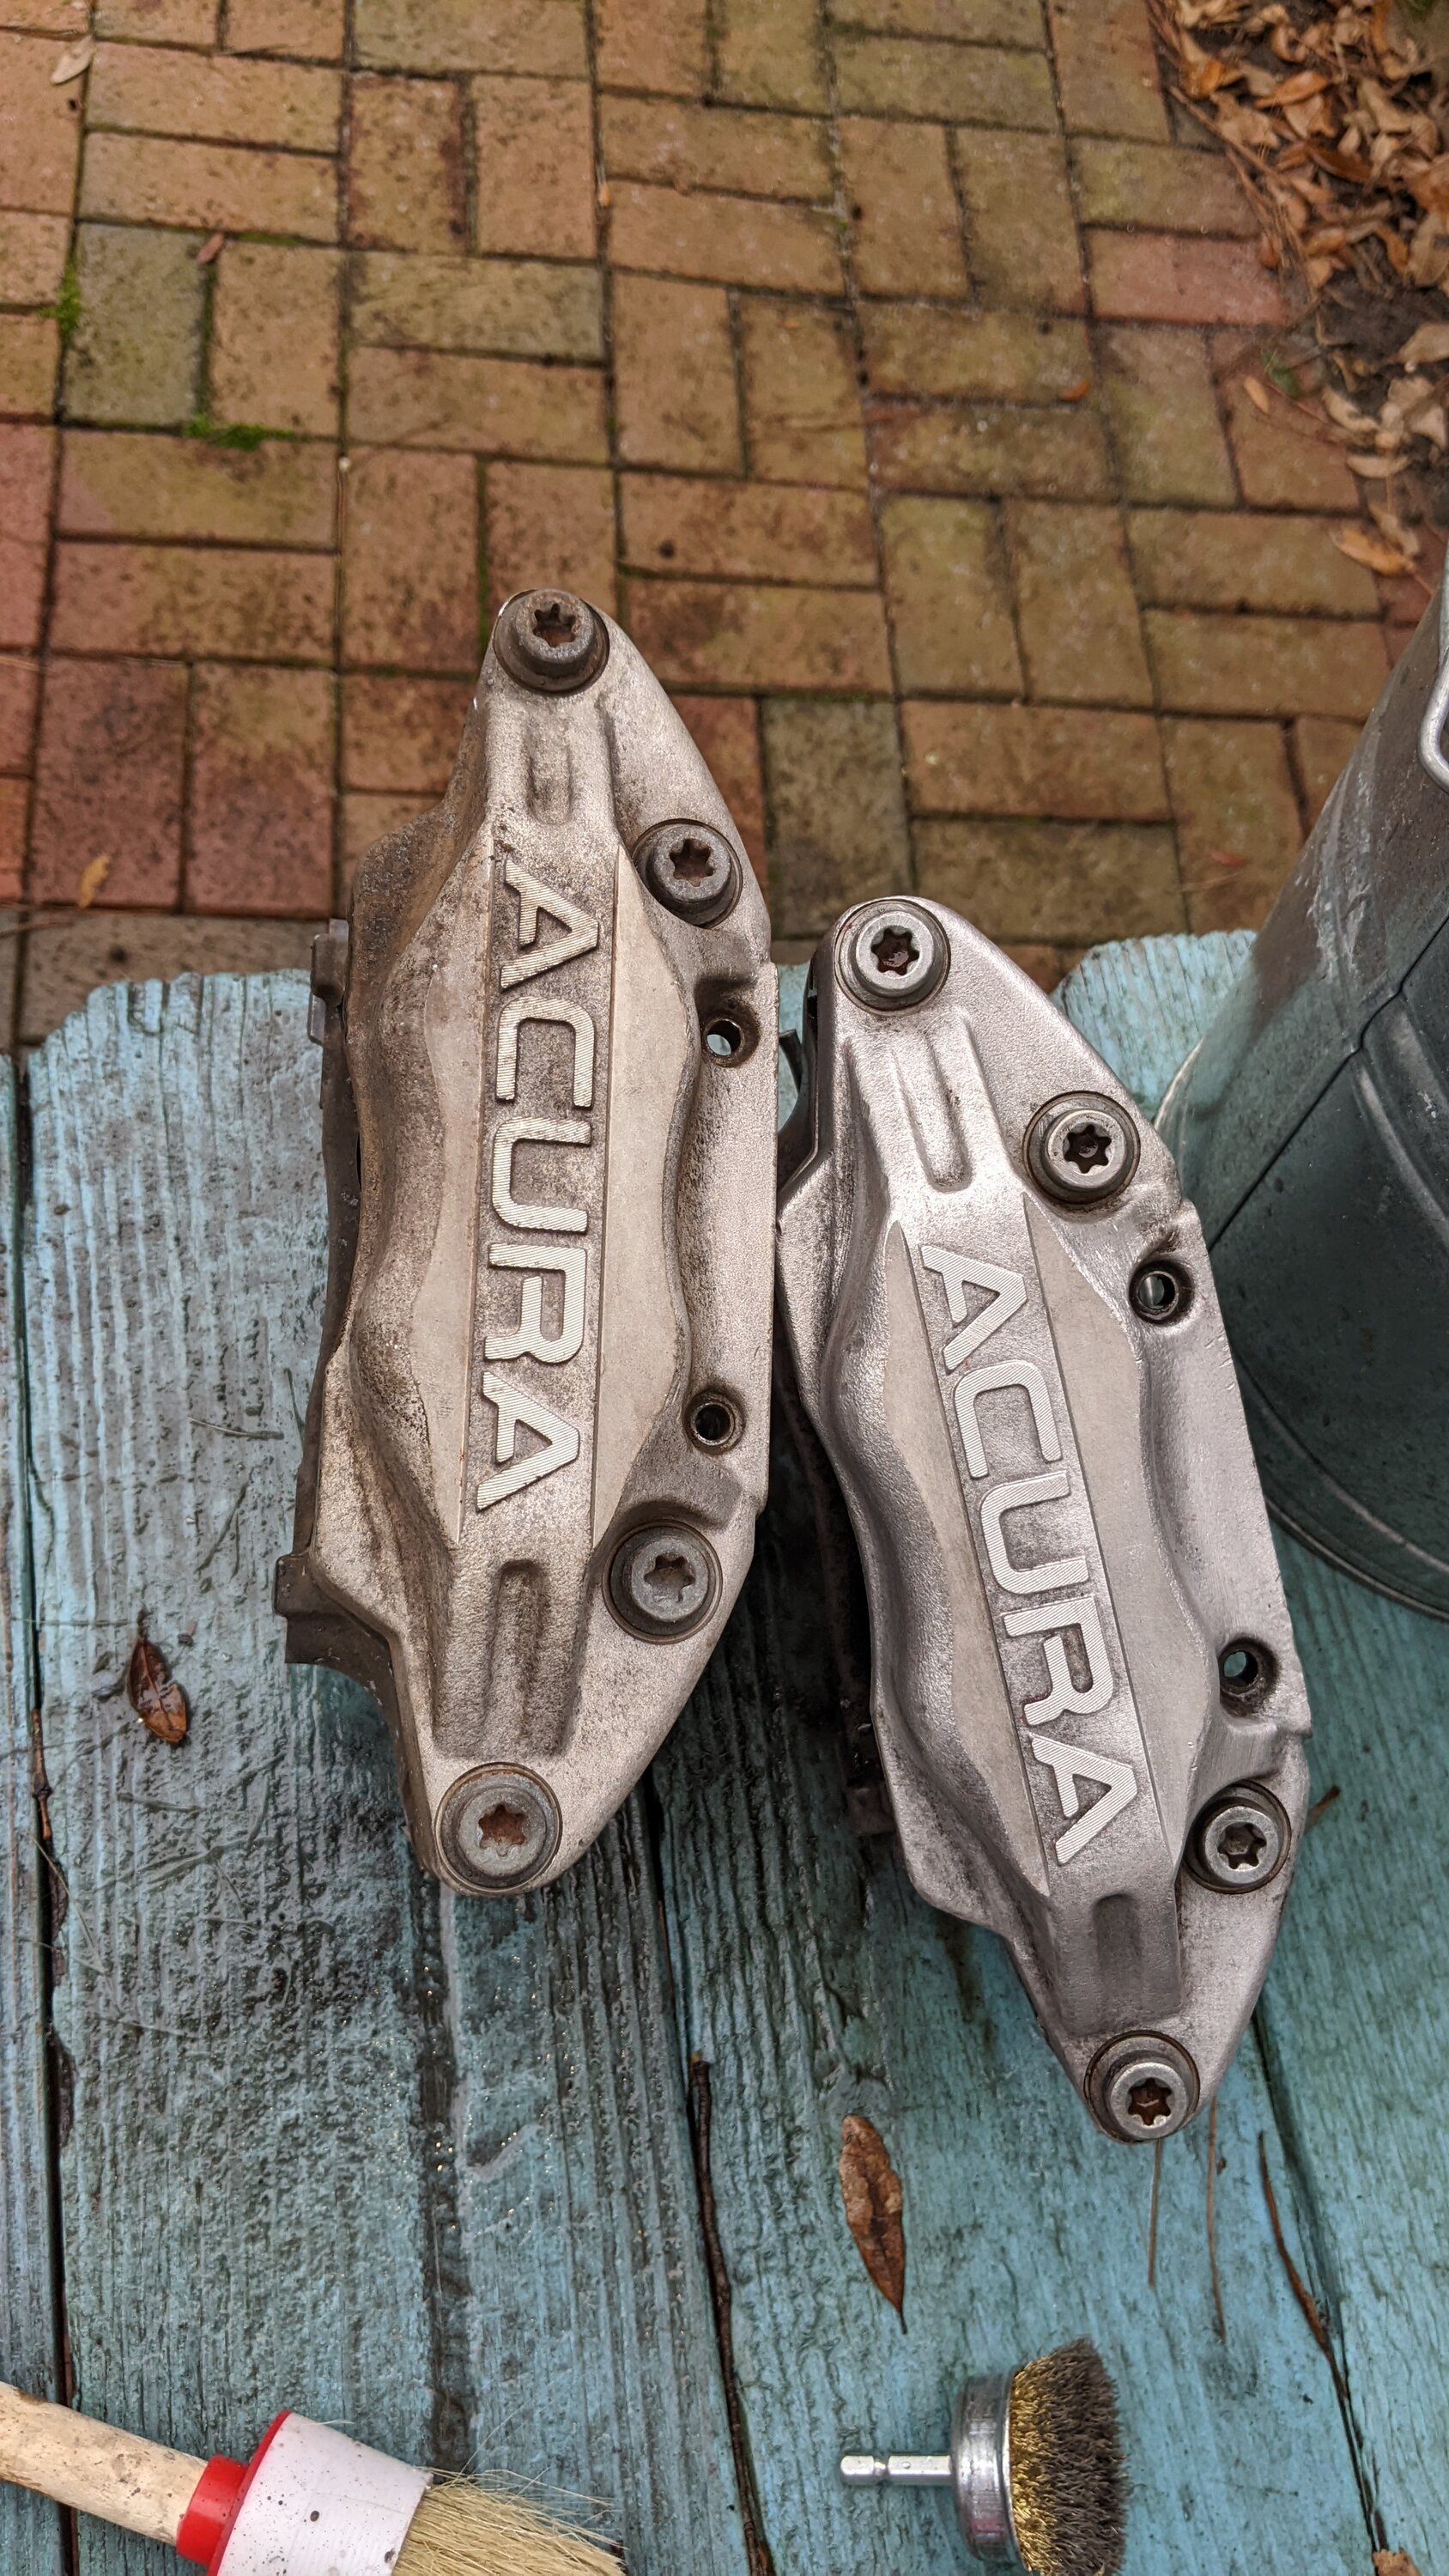
For an RL swap, you'll need a set of right and left calipers, a set of rotors for a Brembo equipped 350z, and an adapter kit.
Calipers can be sourced many ways. I've known people who've found them in junkyards and pick and pulls for under $100. I got mine off eBay for $120. They can also be found rebuilt on various auto parts websites.
When getting junkyard or eBay calipers, the condition is an unknown so a cleanup and rebuild may be necessary. I used a drill with a Ryobi brush attachment and brake dust remover for the initial cleaning.
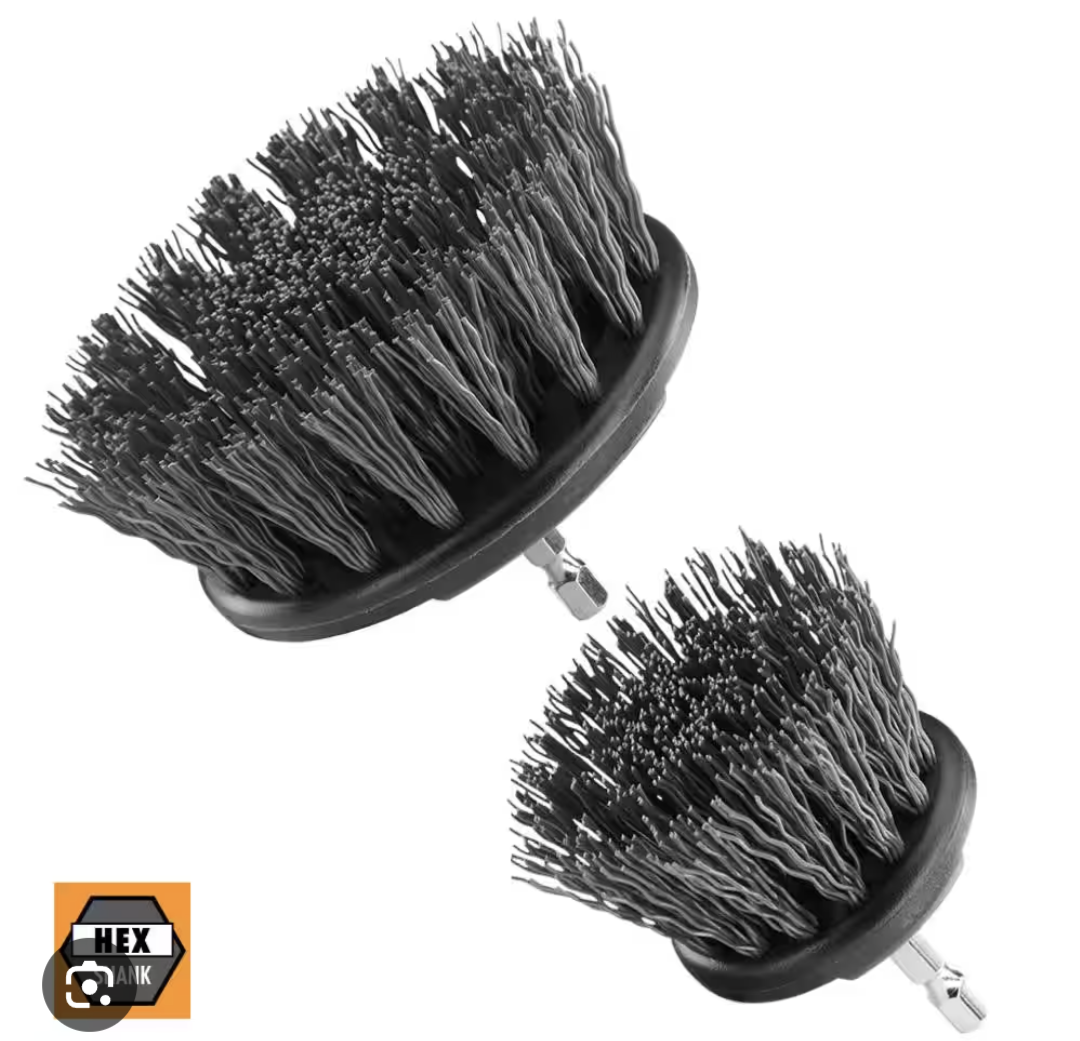
After that came scrubbing with brass brush drill attachments followed by a once over with Mother's mag and wheel polish and some buffer pads

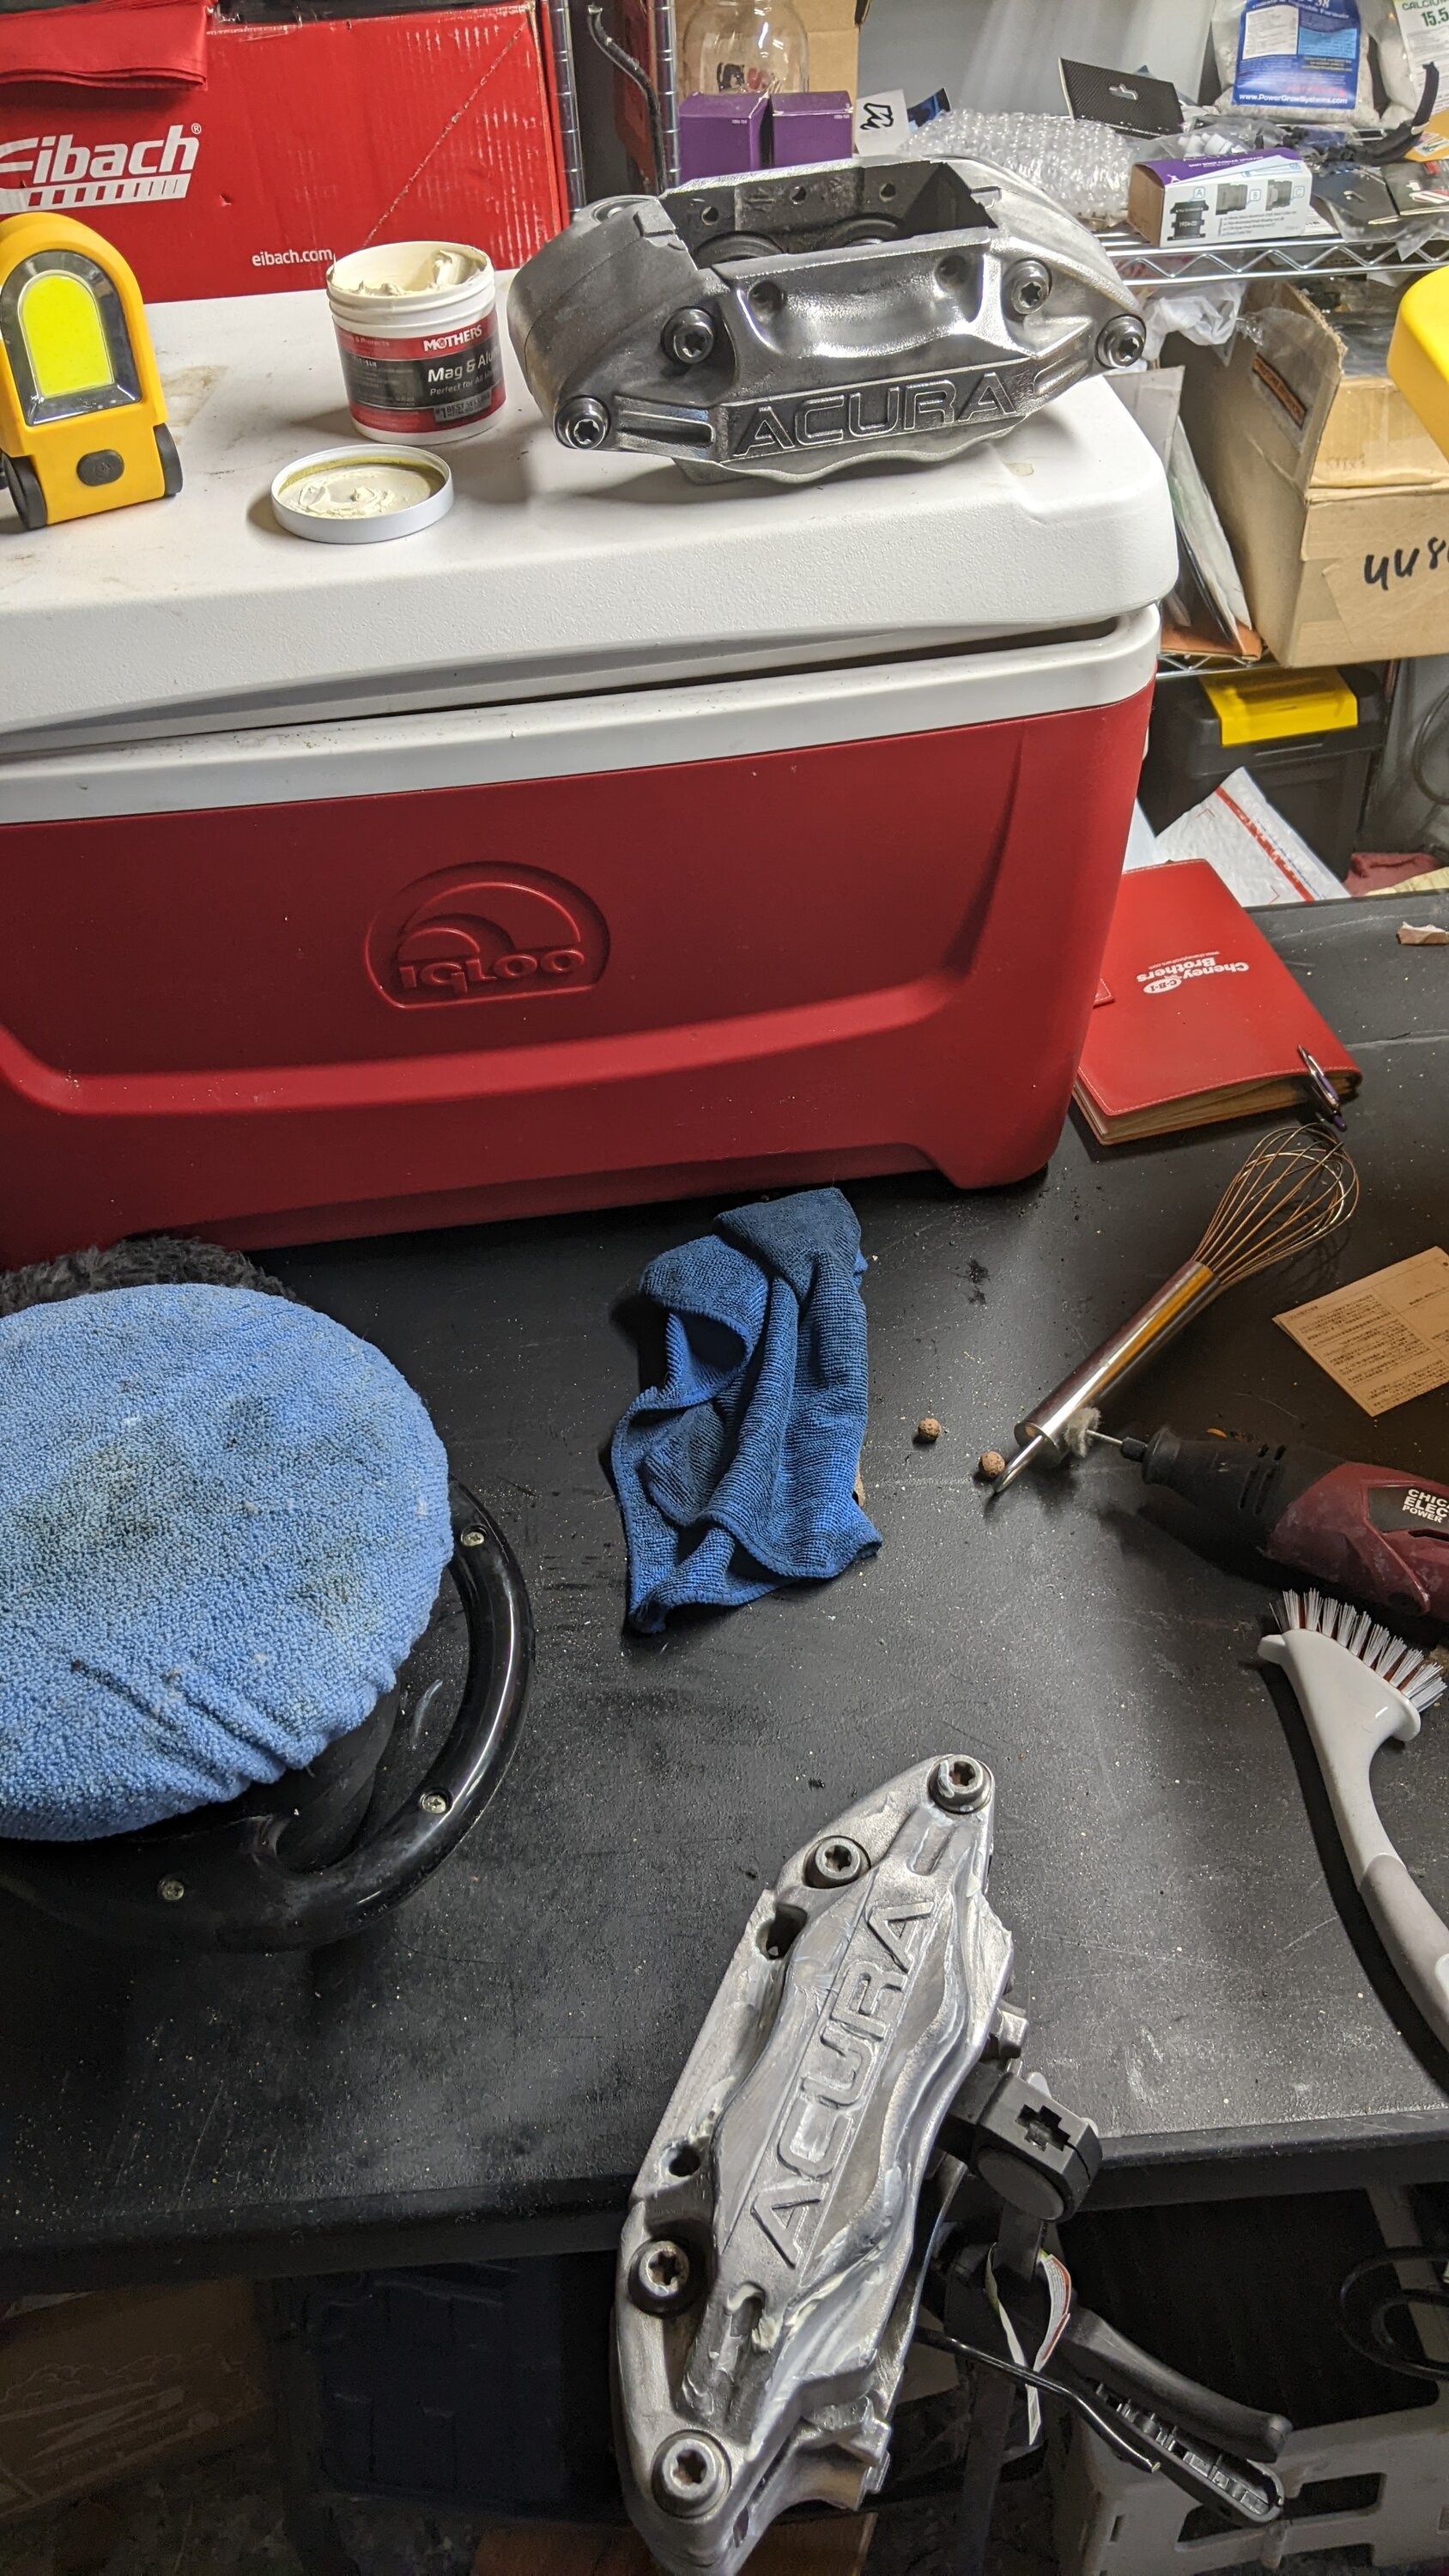
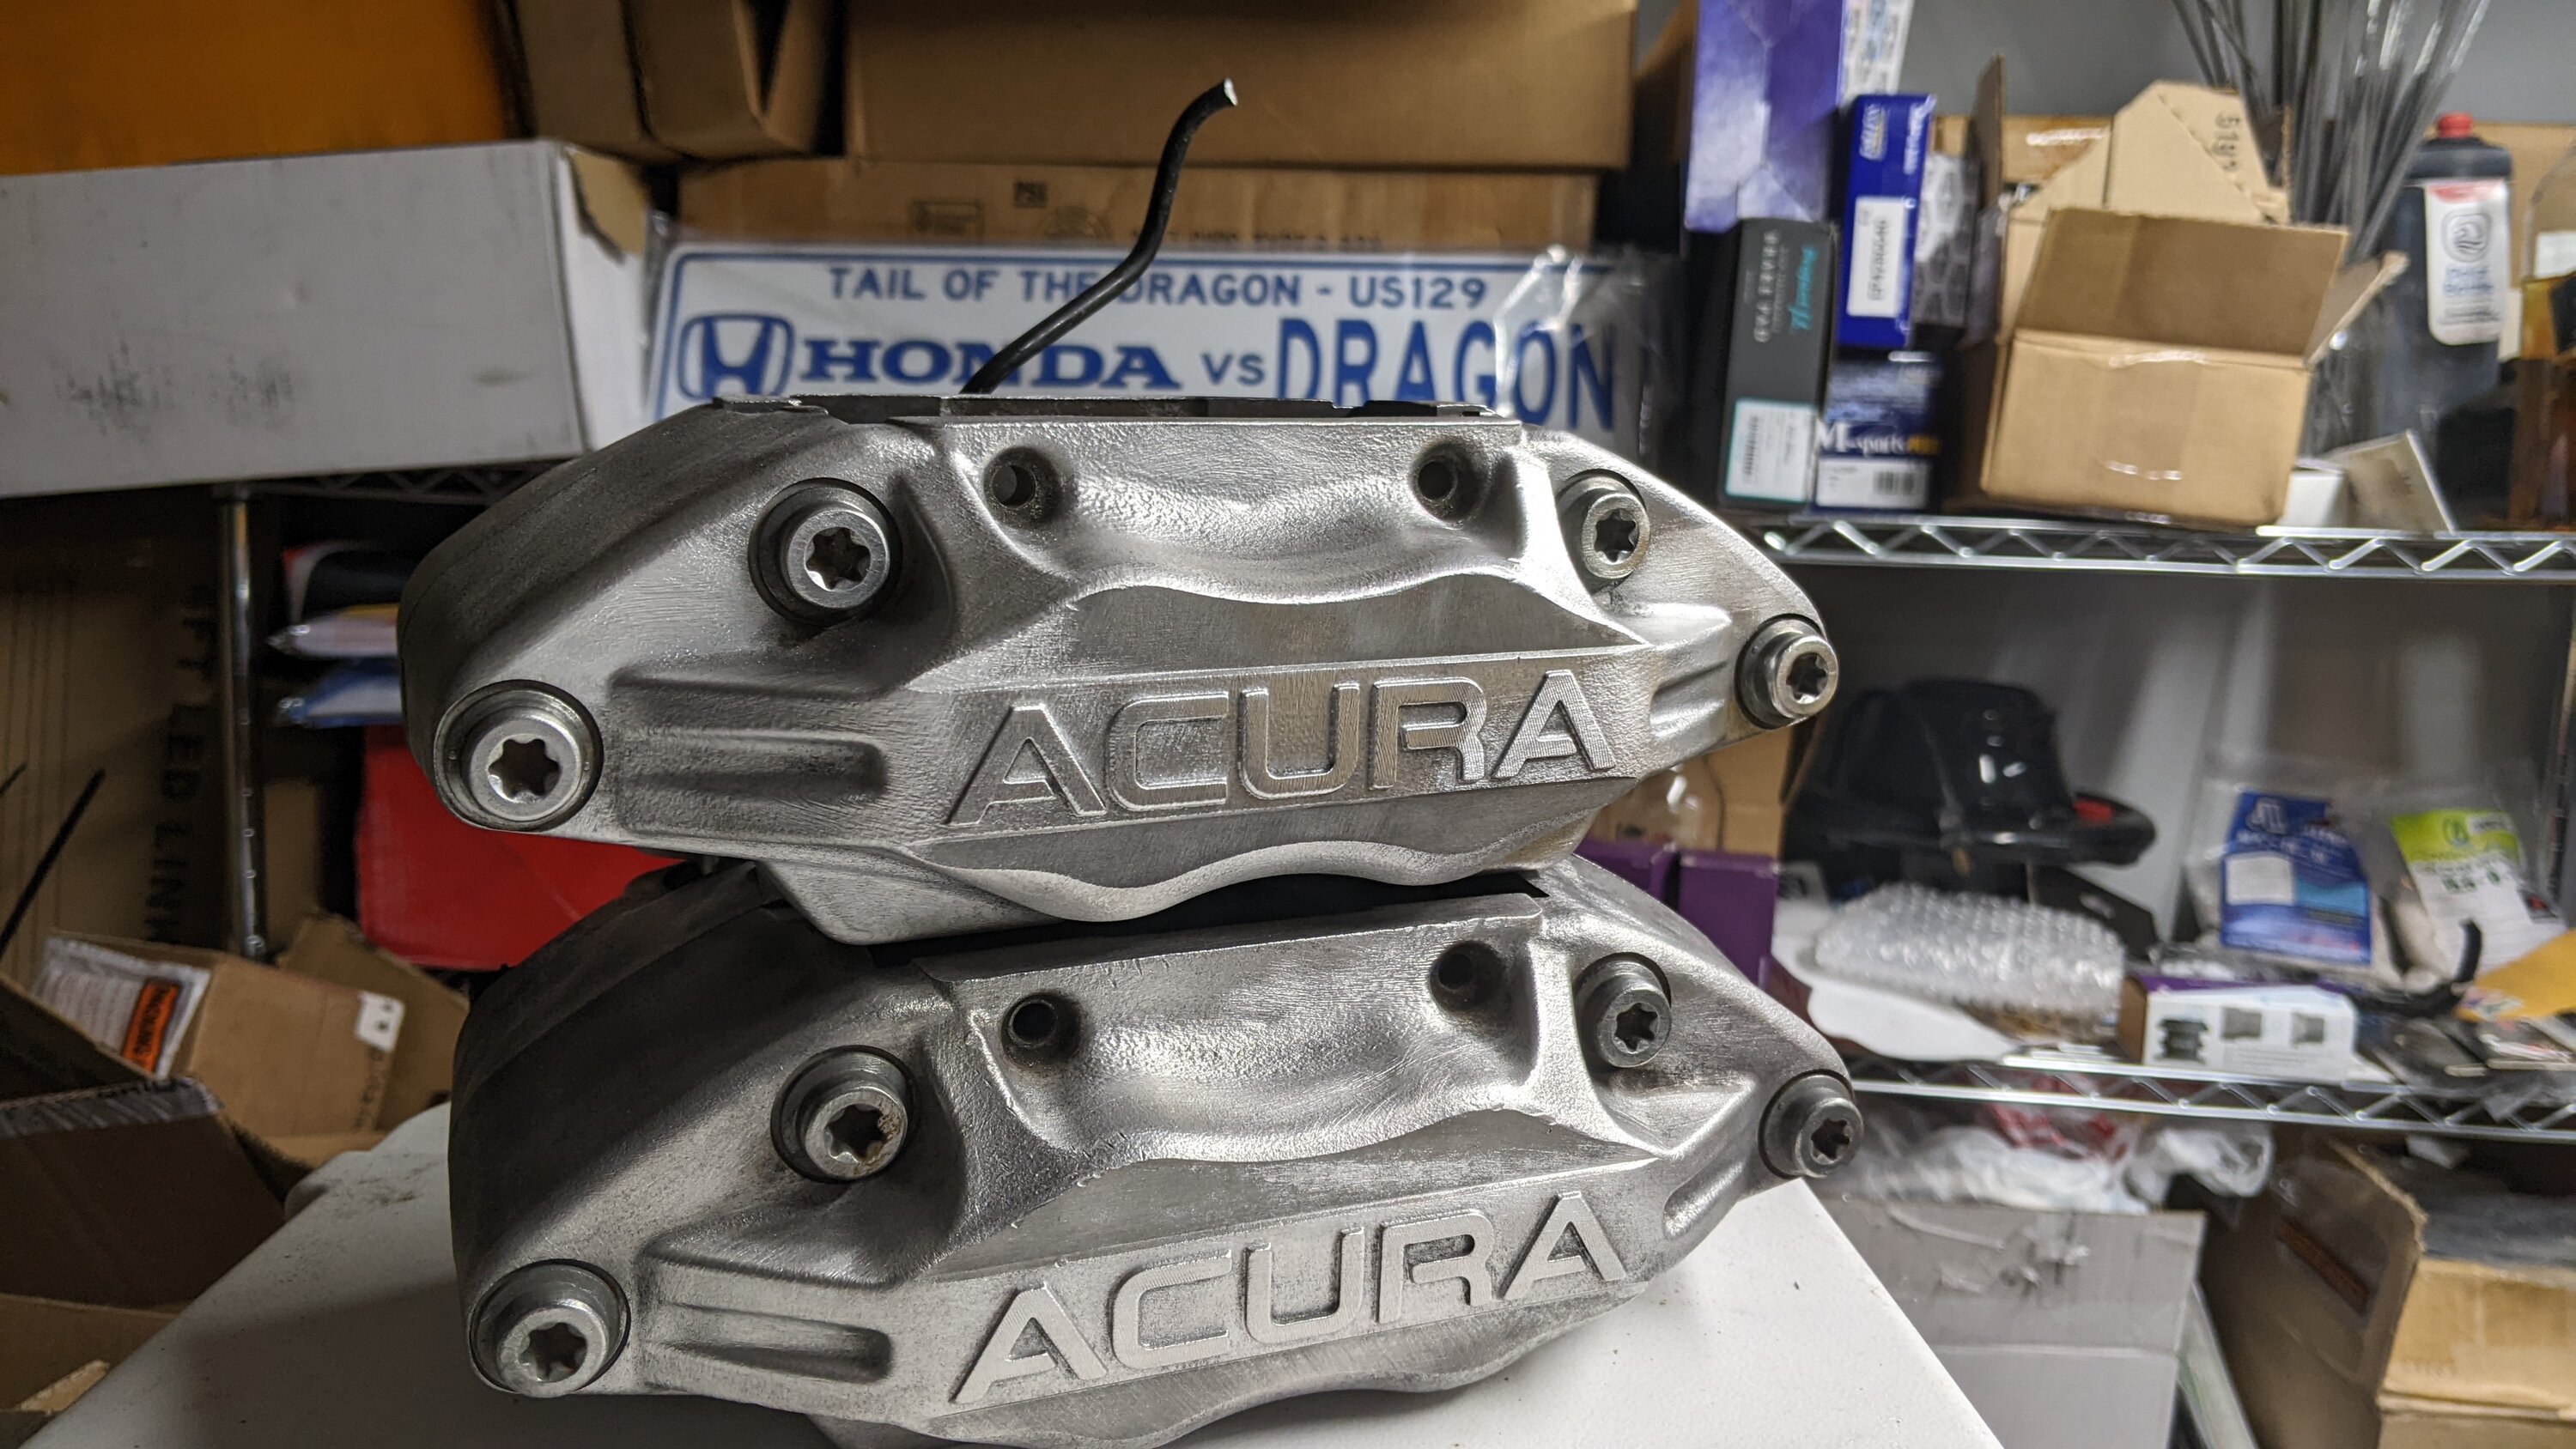
After cleaning, I decided to disassemble the calipers and do a rebuild just to be sure my boots and clips were in good shape
I used parts from Rock Auto for the refresh
https://www.rockauto.com/en/catalog...859,brake+&+wheel+hub,caliper+repair+kit,1720
To disassemble, you're going to need a t50 star/torx bit
For rebuilding tips I used these videos as references
This last one is not RL specific, but so satisfying to watch
While my calipers were disassembled I painted the bolts to see if they could be a little protected from corrosion. I ran into a car restore guy who uses manifold paint so I gave it a shot
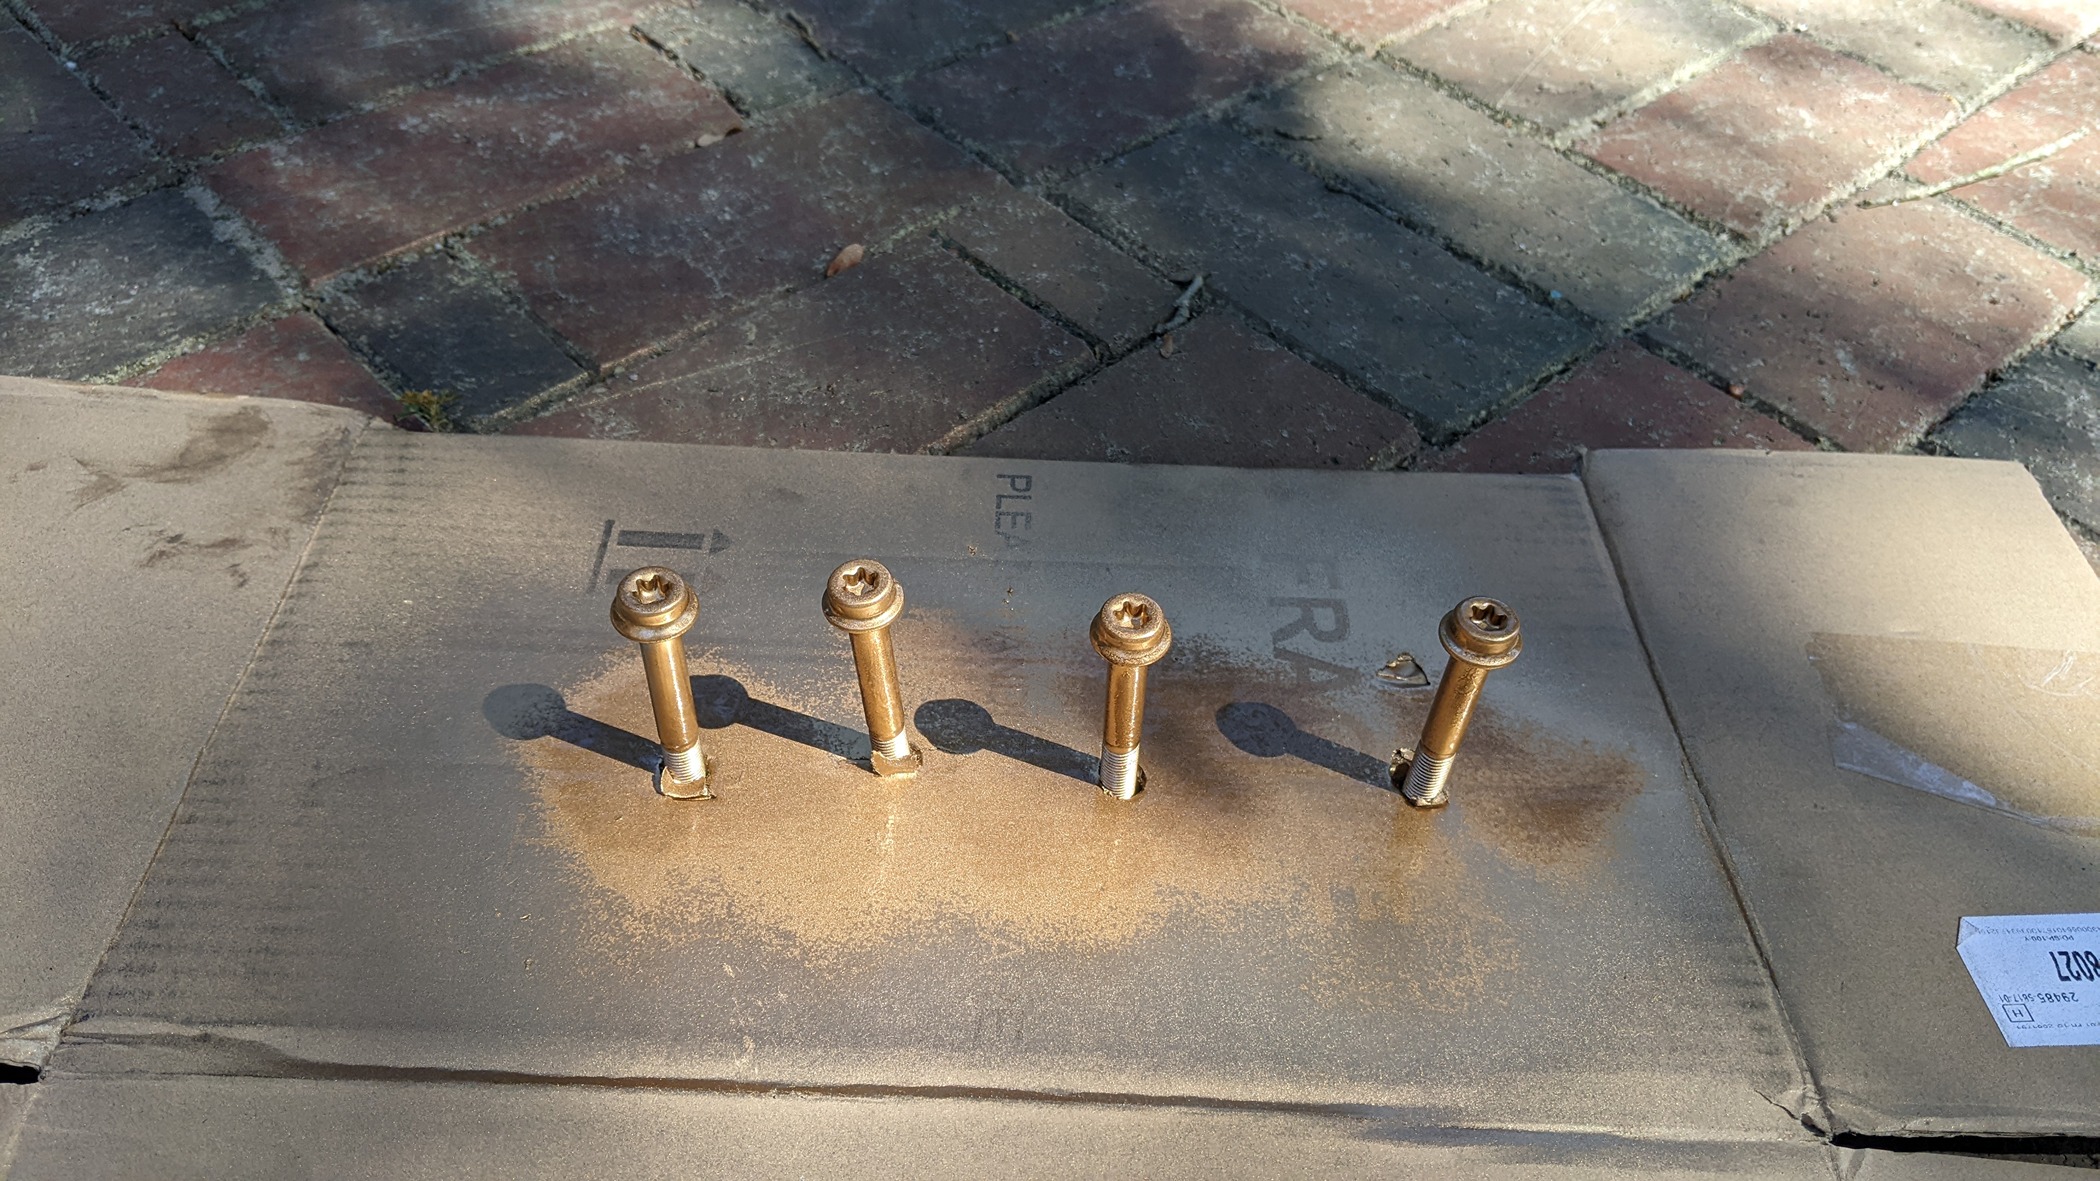

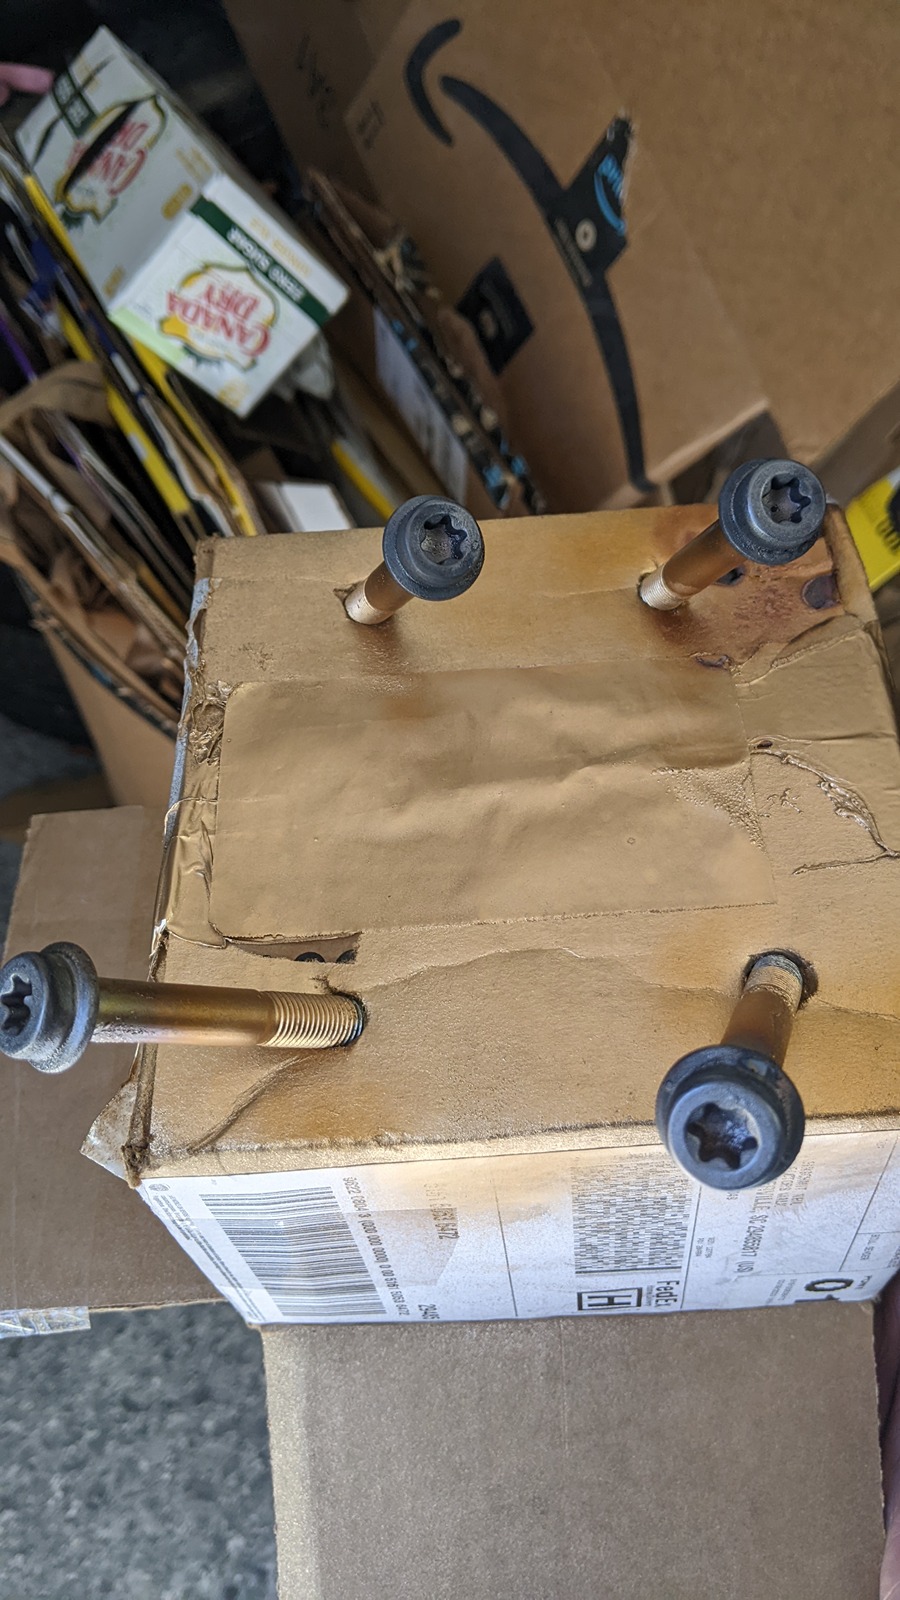
When first painted, the paint is a gold color. It gets a blue when exposed to to high heat, hence, the torch
Once I got it put together they looked like this

In the next couple posts I'll go over install adventures, rotors, pads, and spirited driving experiences
More to come
First off this is the initial thread I learned about this retro fit. It's got a breakdown of a lot of brake caliper and rotor info for this platform and potential retrofits
https://www.civicx.com/forum/threads/brake-info-thread.62520/
This is an RL retrofit thread I referenced as well
https://www.civicx.com/forum/threads/oem-bbk-acura-rl-4-piston-brake-calipers.43055/
It's filled with great info also, but hasn't been updated in a while and gets a little muddied up with other retro fit talk
For an RL swap, you'll need a set of right and left calipers, a set of rotors for a Brembo equipped 350z, and an adapter kit.
Calipers can be sourced many ways. I've known people who've found them in junkyards and pick and pulls for under $100. I got mine off eBay for $120. They can also be found rebuilt on various auto parts websites.
When getting junkyard or eBay calipers, the condition is an unknown so a cleanup and rebuild may be necessary. I used a drill with a Ryobi brush attachment and brake dust remover for the initial cleaning.
After that came scrubbing with brass brush drill attachments followed by a once over with Mother's mag and wheel polish and some buffer pads
After cleaning, I decided to disassemble the calipers and do a rebuild just to be sure my boots and clips were in good shape
I used parts from Rock Auto for the refresh
https://www.rockauto.com/en/catalog...859,brake+&+wheel+hub,caliper+repair+kit,1720
To disassemble, you're going to need a t50 star/torx bit
For rebuilding tips I used these videos as references
This last one is not RL specific, but so satisfying to watch
While my calipers were disassembled I painted the bolts to see if they could be a little protected from corrosion. I ran into a car restore guy who uses manifold paint so I gave it a shot
When first painted, the paint is a gold color. It gets a blue when exposed to to high heat, hence, the torch
Once I got it put together they looked like this
In the next couple posts I'll go over install adventures, rotors, pads, and spirited driving experiences
More to come


